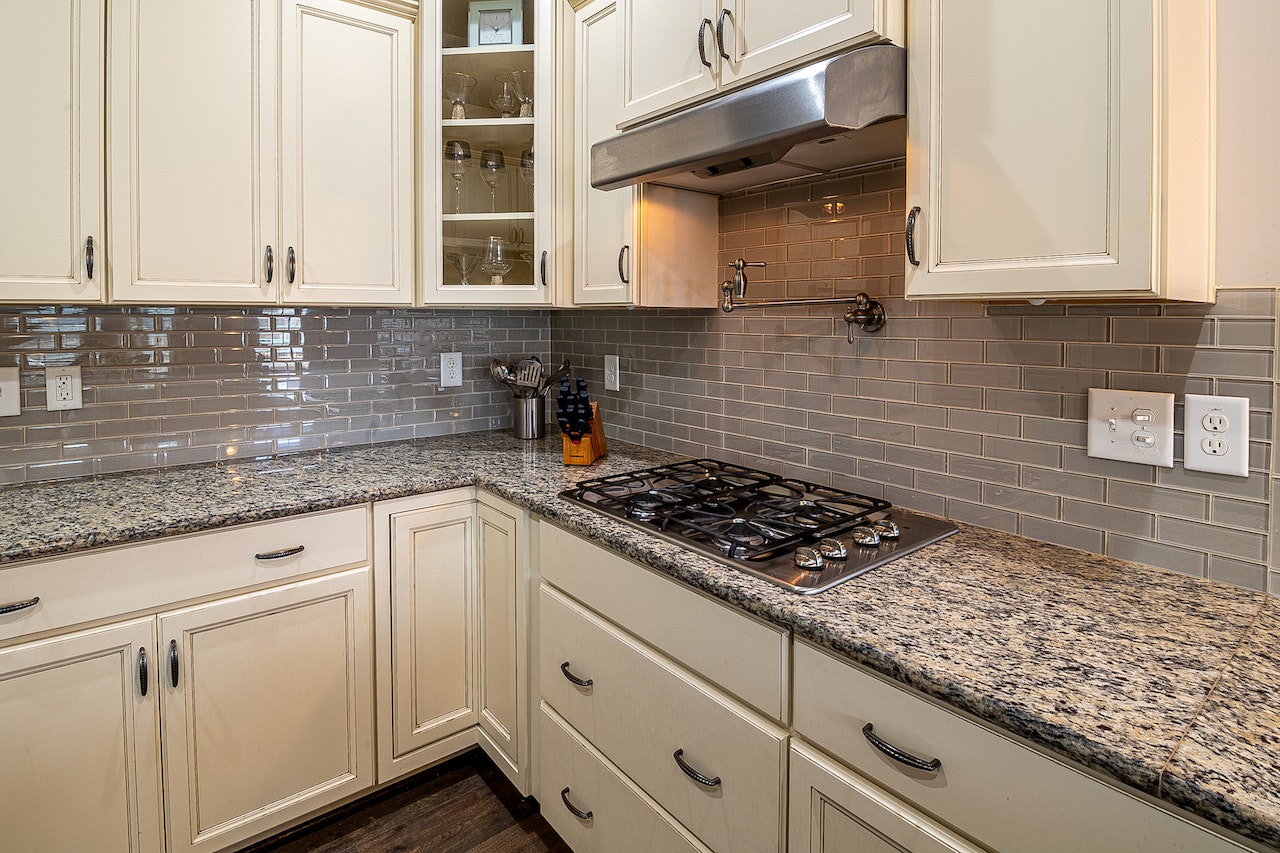
A range hood is a vital part of any kitchen. Not only does it help to keep the air clear of cooking fumes, but it also helps to protect your home from potential fires. Installing a range hood can be a bit tricky, but with our step-by-step guide, you’ll be able to get your range hood up and running in no time.
First, remove the current vent hood or stove hood from your kitchen. Next, measure out the area where you’ll be installing the new range hood. Be sure to keep in mind any obstacles that may be in this space, such as electrical cables or ductwork.
Now it’s time to install the new range hood. Begin by attaching the mounting bracket to the underside of the range hood, using screws or bolts. Then, position the range hood in place and use the screws or bolts to secure it to the wall. Once the range hood is mounted, you can connect it to an electrical outlet and the ductwork.
Finally, turn on the range hood and test it out to make sure it’s working properly. If everything looks good, you’re all finished!
how to install a range hood vent through the wall
Installing a Range Hood Vent Through The Wall:
1. Measure the width and height of the range hood vent opening
2. Cut a hole in the wall using a drywall saw
3. Insert the range hood vent into the hole and secure it in place with screws
4. Connect the ventilation duct to the hood and attach it to the wall with metal tape
5. Turn on the power to test whether or not it’s working properly

Understand the different types of range hood vents and decide which one is best for your home
1. Ducted range hoods exhausting air to the outside through an external wall vent. 2. Ductless range hoods recirculating the air back into the kitchen after passing through a charcoal filter. 3. Downdraft range hoods pulling air down and exhausting it through a duct beneath the floor or into the crawlspace. 4. Island range hoods attached to the ceiling above an island or peninsula cooktop and venting air into the room.
To install a range hood vent through the wall, you will need:
– A measuring tape
– A drywall saw
– Screws or bolts for mounting
– Ventilation duct material
– Metal tape
Install the vent according to the manufacturer’s instructions
Install the vent according to the manufacturer’s instructions and test to make sure it is working properly. If you are installing a ducted range hood, be sure to use the correct size and type of vent material for your home’s ventilation system. And remember to keep safety in mind at all times – never install a range hood near combustible materials or sources of heat. With the right tools and careful planning, you can successfully install a range hood vent through the wall in your kitchen.
Connect the vent to the exhaust system and test it for proper operation
1. Loosen the screws on the side of the vent hood.
2. Insert the duct pipe into the exhaust port and tighten the screws to hold it in place.
3. Test the range hood by turning it on and cooking something on the stovetop to generate fumes. The vent should pull air through and exhaust it outside. If it doesn’t, refer to the manufacturer’s instructions for troubleshooting.